

The Pending Bills workflow turns Printerpoint into a “to-do” list where you can verify and approve your billing each month.
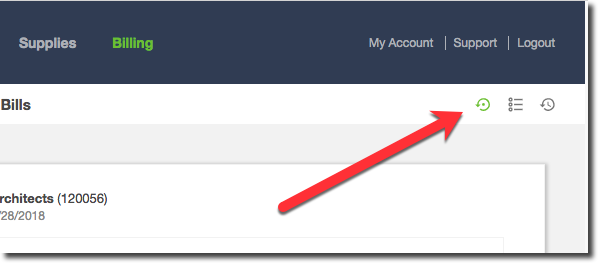
To access Pending Bills, click "Billing" in the top menu, then click the "Bills" icon.
At the end of a billing period, any customer bills that have come due that month will appear in the “Pending Bills” section of Printerpoint.
Each bill shows the customer, the printers, and the quantities.
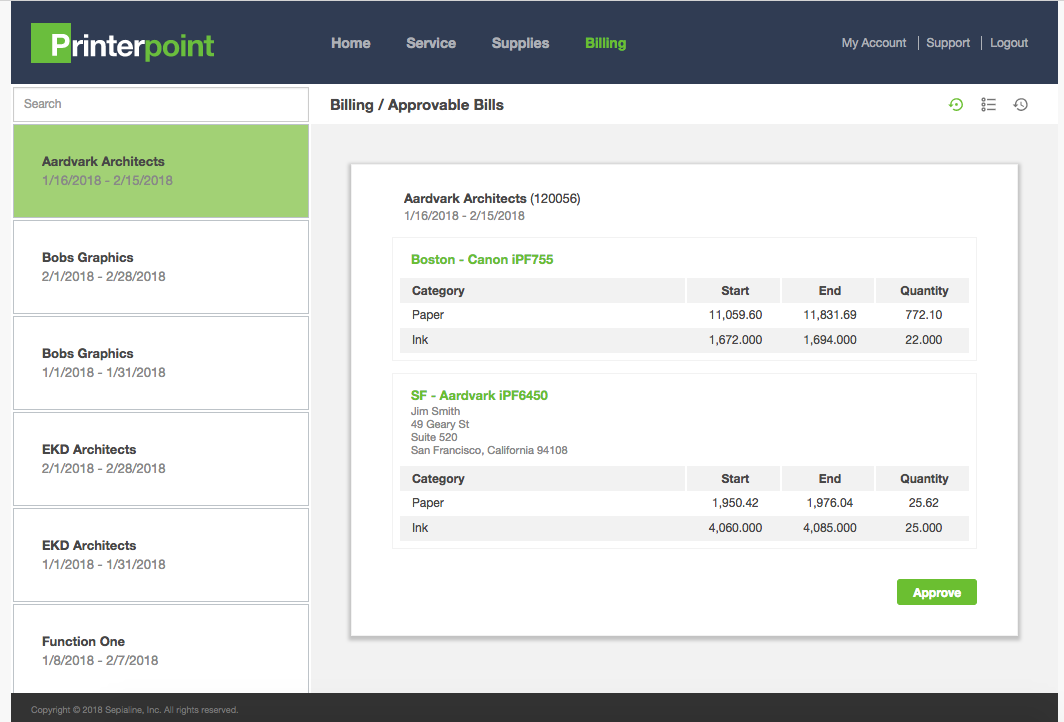
If all the printers at a customer site have the same billing end date, they will all appear on the same bill. If your printers are on different contracts and end on different dates, they will be billed separately.
If you have configured a Customer ID and Asset ID for your printers, these will display right on the Approvable Bills for easy entry into your ERP system.
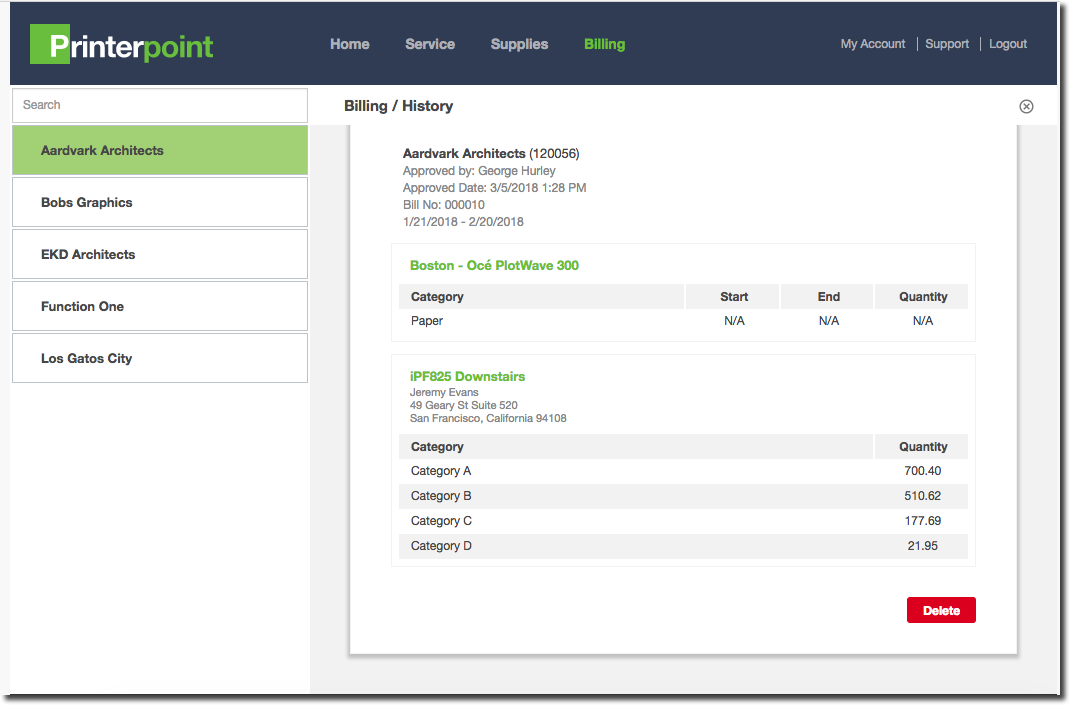
Billing History
Approved Bills are immediately removed from the list. If you ever need to see a history of approved bills, or redo a bill in the event there was a mistake, just click the “Approved Bills” icon and select your customer.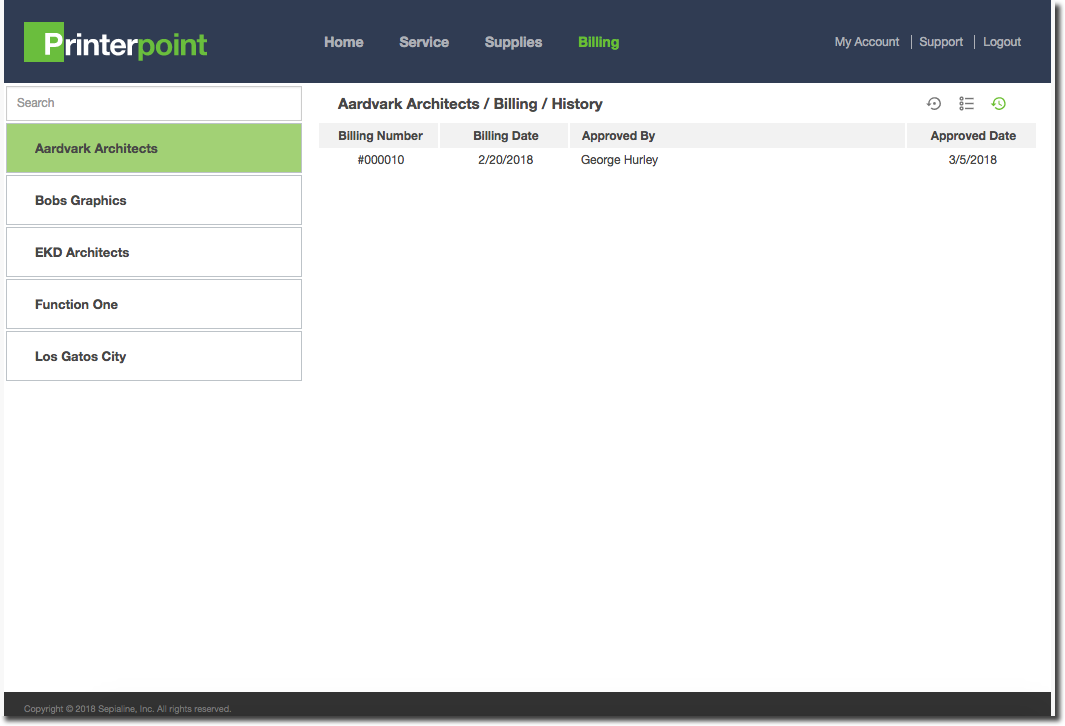
To redo a bill, click the “delete” button, and it will re-appear on the Pending Bills list.
Changing Billing Information
If you see something on a bill that is incorrect, such as the Billing Method or Billing Date, you can change the information on the Billing Details page and reload the bill.
Missing Billing Information
If your customer’s Printerpoint agent has gone offline, or some other issue has prevented Printerpoint from communicating with the printer, resolve the issue prior to approving the bill.
0 Comments