

The Customer Details page includes a variety of customer-specific settings and lists.
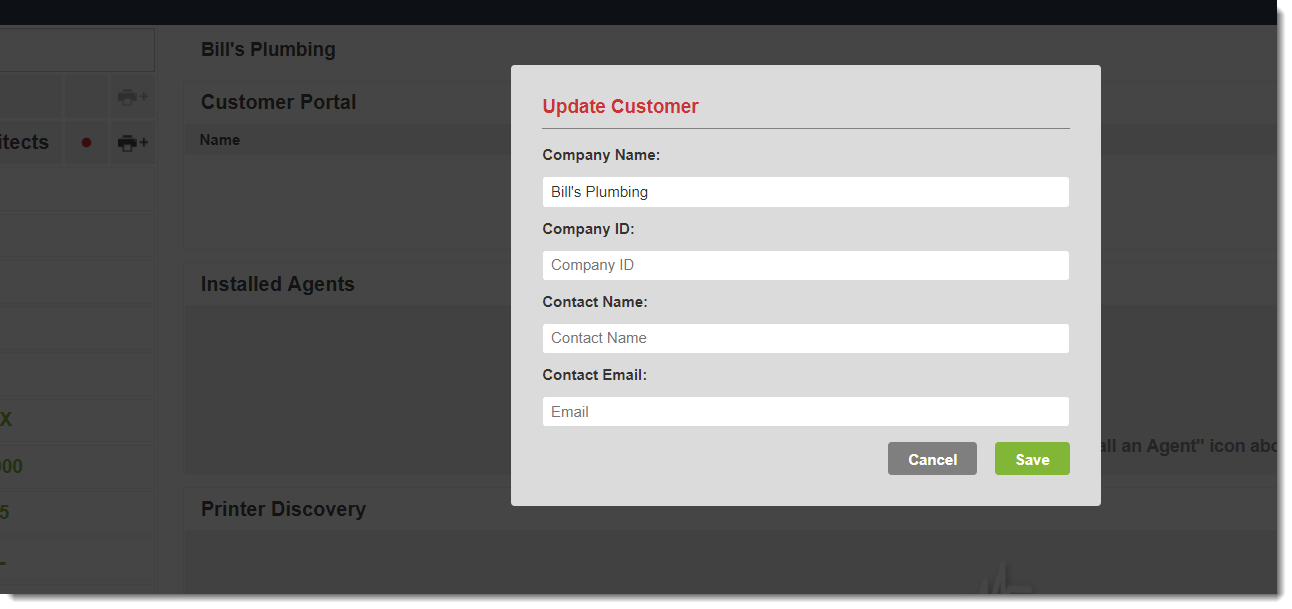
Update Customer
The update customer dialog allows you to set the customer's name, ID number, and primary contact information.
Installed Agents
The list of installed agents shows all the computers on your customer's network where the Printerpoint Agent has been installed. From this list, you can view details about the agent, such as operating system, version, online status, and network scan ranges. You can also run a network scan by clicking the "Scan" button next to an agent.
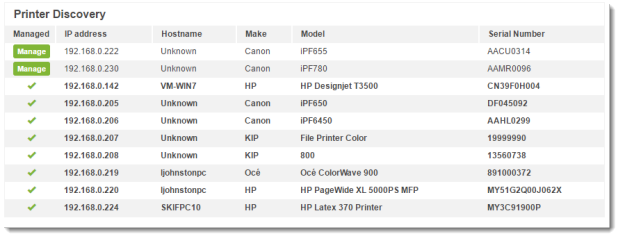
Printer Discovery
The pinter discovery list shows all of the printers that have been located on your customer's network through a network scan. To add a printer to Printerpoint from this list to start monitoring it, just click "Manage".
Locations
If your customer has multiple office locations, or you want to separate their printers by department, you can add as many locations to the customer as you'd like. Each location has several optional fields:
- Location name (required)
- Contact name
- Company name
- Address fields
- Phone number
- Tax rate
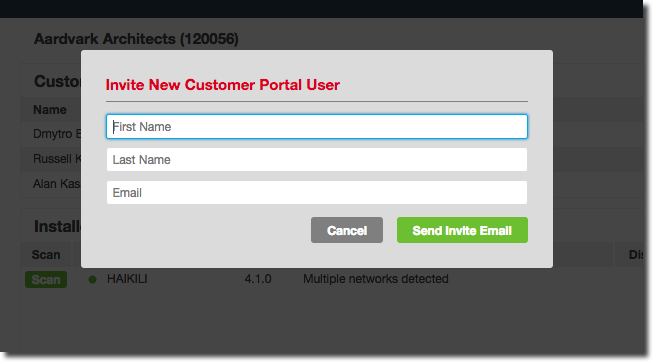
Customer Access
To grant users from your customer's company access to the Printerpoint Customer Portal so they can order supplies, open service tickets, and view print job details, add them to the Customer Access list. Enter their name, email address, and choose which locations they should be able to access when logged into the Customer Portal.
0 Comments